How to Upcycle a Pillowcase Into a Dress
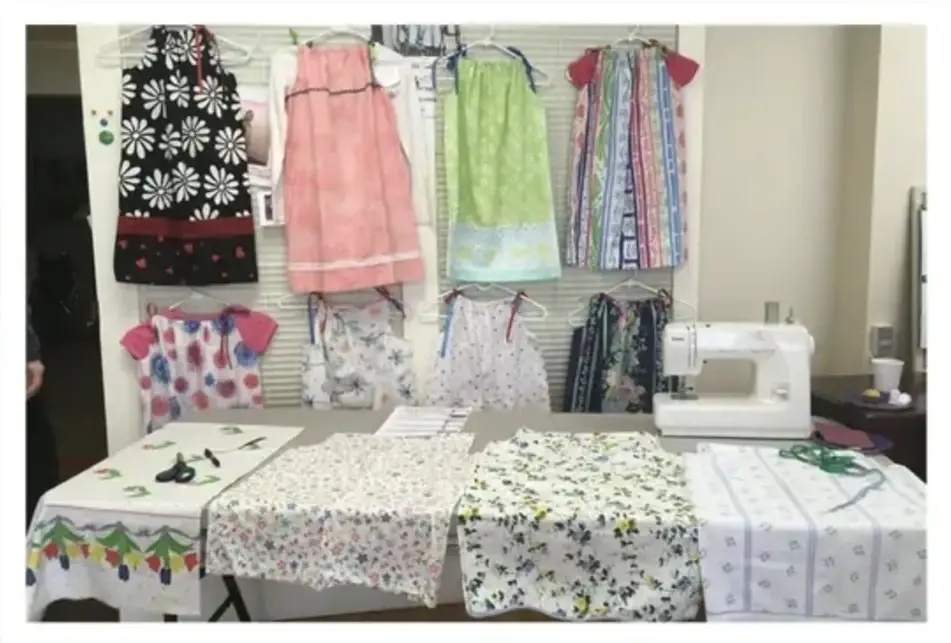
Pattern and step-by-step guidance for transforming a pillowcase into a child’s dress.
Why this recipe matters
Every year, landfills receive around 11 million tons of municipal solid waste (MSW) textiles; diverting some of this material from landfills can help reduce greenhouse gas emissions.
Ingredients
- Pillowcase, clean and in good condition
- Fabric scissors
- Pins
- 3/8" or 1/2" grosgrain ribbon
- Needle and thread or sewing machine
- Other decorations, such as embroidery thread, ribbons, buttons, and other appliqués.
- Pocket template from Sew Daily
Recipe
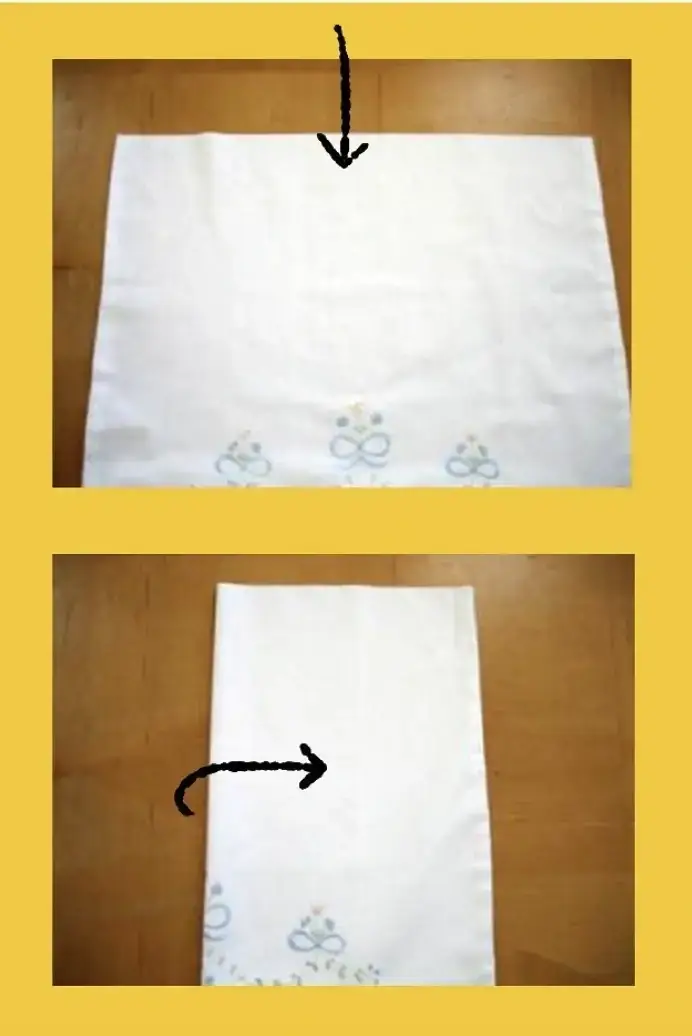
Lay your pillowcase flat with the closed end at the top—you may need to iron any creases out before you begin. Then, fold the pillowcase in half, lengthwise.
Step 2: Cut and hem the armholes.
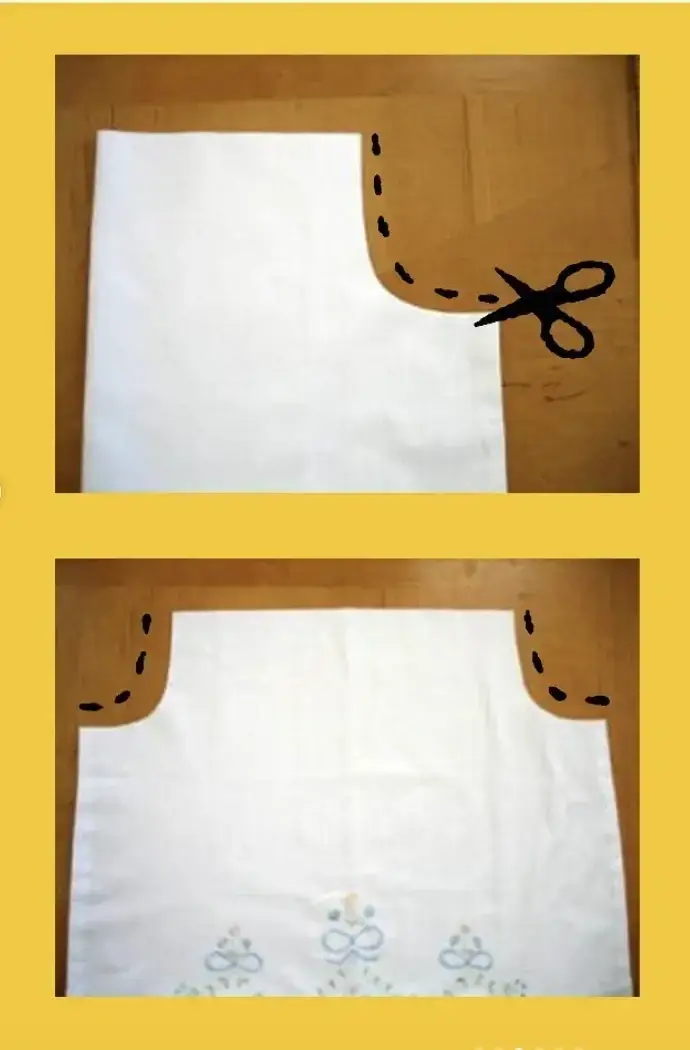
To cut the armholes for your dress, make a J-shaped cut that is approximately 2 ¼" wide by 6" long through the two sides of the pillowcase. Carefully pin back any extra material before sewing a rolled hem for each armhole.
Step 3: Hem a collar for the dress.
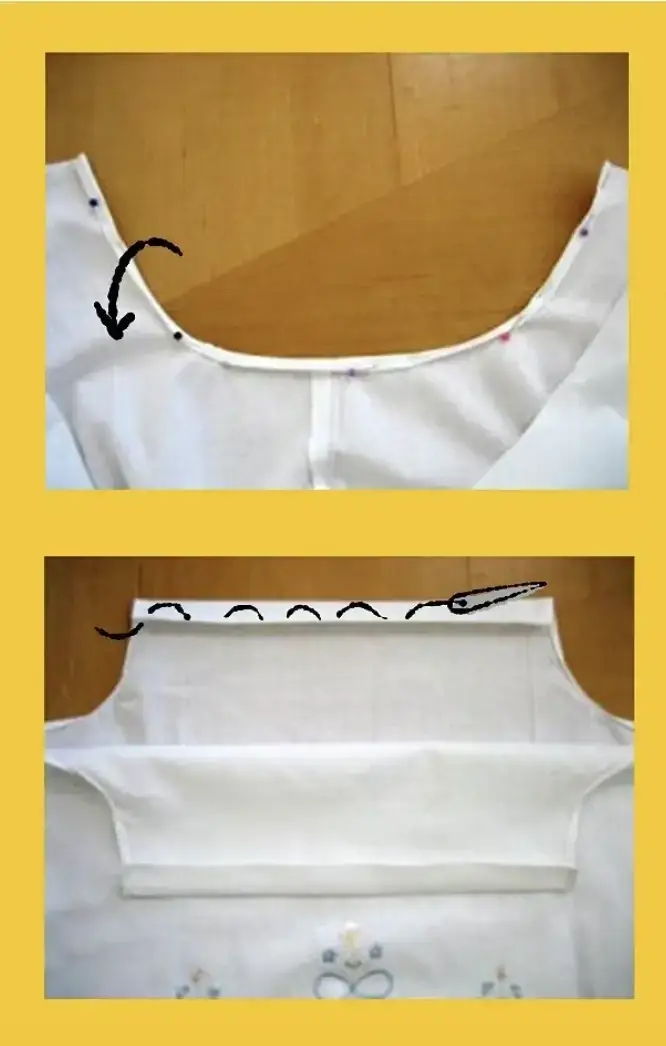
Cut a straight line across the closed end of the pillowcase. Then, pin back 1/4" of the material and sew a neat line on both the front and the back sides of the dress without closing either end of the two hems.
Step 4: Loop a ribbon through the collar.
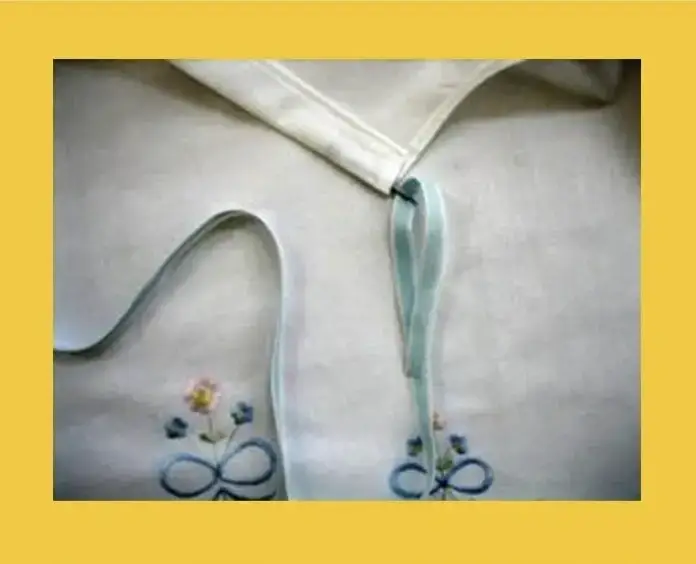
Thread a one-yard length of 3/8" or 1/2" grosgrain ribbon through each hem to form a collar on the front and back of the dress. Make a few stitches in the center of each hem to prevent the ribbons from falling out, then tie the ends of each ribbon together to form two neat
Step 5: Decorate the dress.
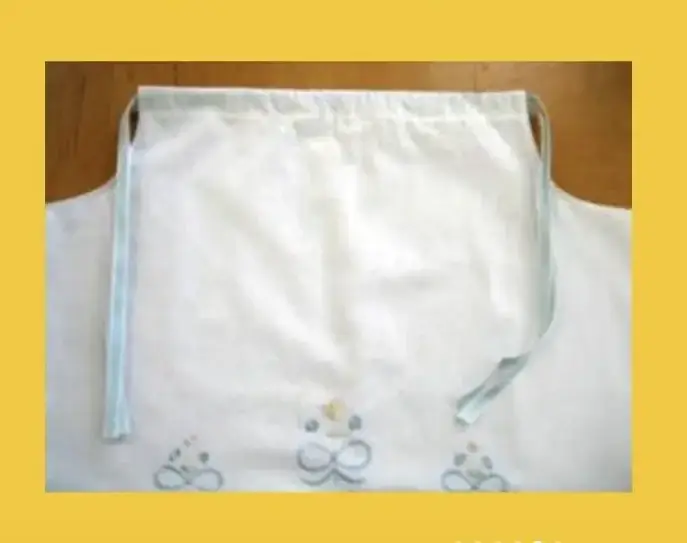
Sew on any additional embroidery or appliqués to decorate. You can also add a pocket to your pillowcase dress using this template from Sew Daily.
Nutritional Information
How this recipe has nurtured a community
“Five years ago, my mom and I went to a quilt show. One of the ladies did her ‘show and tell’ about a dress made from a pillowcase—we both said ‘Wow!’ and brought the idea to a family gathering.
We made 36 dresses and had a blast! Our husbands provided us with tea and lunch, we listened to oldies, and we eventually came up with a streamlined process for cutting and sewing.”
Finishing Touch
Interested in sharing your sewing skills with others? Explore volunteer opportunities on Idealist to sew homemade dresses, purses, and other items for communities in need.
